Category: House / Projects
Photography
Latest
Ozarks in the Summer
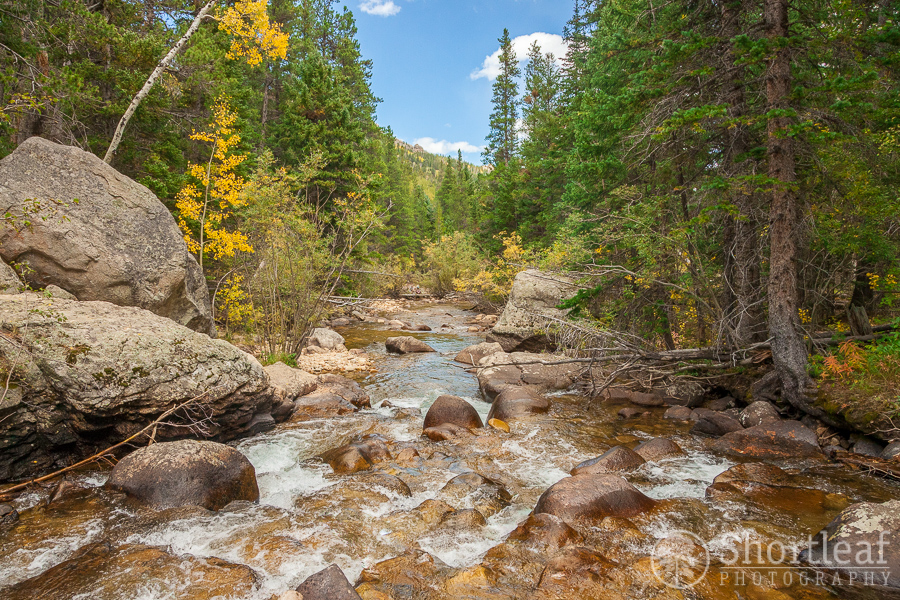
I’m overdue for posting some nature photos so here we go! I haven’t taken many lately...


Art
Latest
Totally Tomatoes
Here is my latest work – a still life of some tomatoes. I more or less used the same...


Adventures
Ozarks in the Summer
I’m overdue for posting some nature photos so here we go! I haven’t taken many lately...


This error message is only visible to WordPress admins